Do It Yourself
DIY Threading Barrels For Muzzle Brakes And Suppressors
Published
1 year agoon
By
Eilidh
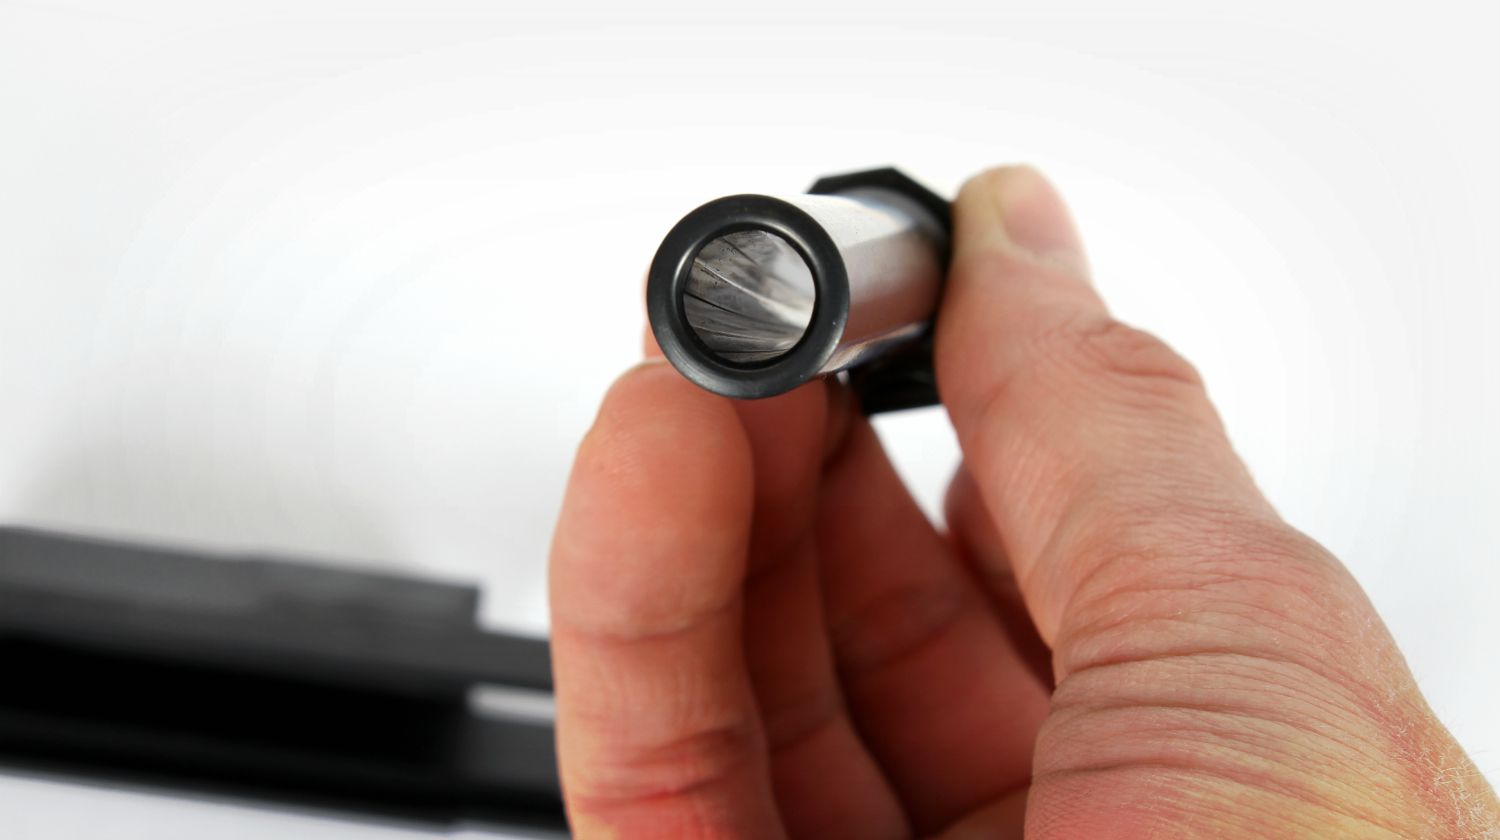
DIY threading barrels help make sure your suppressors and muzzle brakes fit and work. Learn how to thread barrels here!
RELATED: AR-15 Barrel Install | Tips & Tricks
In this article:
- Required Tools for DIY Threading Barrels
- These Extra Tools Are Also Recommended for Muzzle Threading
- DIY Barrel Threading Preparation
- Getting Started with DIY Barrel Threading
- Factors to Keep in Mind When Threading Barrels
- Finishing Up
DIY Threading Barrels: How to Thread a Gun Barrel by Hand
Required Tools for DIY Threading Barrels
[instagram url=https://www.instagram.com/p/weVLzAzWSy/ hidecaption=true width=625]
If you're a gun carrier or enthusiast, you know a threaded rifle barrel, is the new black. So if you want in on it too, read on to know how you can pull it yourself.
Before you start threading barrels of any firearm, all the right tools should be within your easy access. Depending upon the rifle, you will need a different thread pitch.
This means, a different set of taps, dies, and tools should be on the table. Make sure to have all the recommended tools before beginning to thread the barrel of any firearm.
If the rifle is of a heavier caliber and is of a foreign chassis, then you will also need vices. This is to secure the firearm in place so as to prevent damage to the barrel when you're cutting the threads.
These Extra Tools Are Also Recommended for Muzzle Threading:
- Cutting oil
- Paintbrush
- Hand towels
- Firearms cleaning kit and toolkit
- Measurement tool e.g. dial caliper
- Spare cutting tools (if possible)
- Steel construction caliper 6" dial
- Precision Ground Jaws for Accuracy
- Jaws Designed for Inside, Outside, and Thread Measurements
A cool beverage will also help maintain patience as cutting threads on a barrel is a job requiring extreme precision and time. A simple mistake will risk the integrity of the firearm.
DIY Barrel Threading Preparation
Measure the diameter of your firearm’s barrel before starting. Then cross-reference that information with the specifications list at CNC Warrior’s website.
CNC Warrior provides barrel threading kits for a variety of firearm platforms in a wide range of calibers. They also provide specification lists with firearm make and models detailing each barrel thread pitch.
Of course, these specifications follows factory models. So, also make sure your firearm is a factory model.
An example of this is a Norinco MAK-90 AK47. A factory barrel will need a thread pitch toolkit of a 14X1 LH (Left Hand).
CNC Warrior provides these same specifications as a ‘shortcut’ to measuring your barrel. But regardless, the best advice is to use the list as a source for cross-referencing your findings.
The barrel threading kit from CNC Warrior comes with a guide, cutting tool, cutting oil, and a fitted handle for the job to get done. No instructions come with the toolkit, though, but there are many videos popping online which provides do-it-yourself examples.
RELATED: Rifle Shooting Tips & Techniques | 11 Surprising Things New Rifle Shooters Need To Know
Getting Started with DIY Barrel Threading
To get started, fit the guide through the cutting tool. You need the guide to thread through the cutting tool itself and place concentrically to the barrel. Make sure all the components are well-oiled with the cutting oil before starting.
- Once on the barrel, begin the thread cutting process by turning in the direction of the thread pitch e.g. left hand or right hand.
- For every half turn, reverse the direction to break off the freshly cut chip, then proceed back forward cutting in the proper direction.
- Repeat this process for every half turn with due diligence and patience. A single mistake during this process can risk the firearms’ integrity and performance.
- Once there are three to four thread cuts made, remove the tool and the guide, then repeat the process without the guide. The guide tool is no longer needed at this point. This is because the first few thread cuts are enough to complete the rest of the job with proper alignment.
Factors to Keep in Mind When Threading Barrels
[instagram url=https://www.instagram.com/p/BZ4T_o5HmA2/ hidecaption=true width=625]
Besides patience and caution, make sure all the components are well-oiled and lubricated with the cutting oil throughout the process. If the components are not lubricated, the cutting tool can chip and damage the barrel during the cutting process.
Another important factor to keep in mind is to use a paintbrush to wipe away the excess chips that build up during the cutting process. It is important to use a paintbrush as opposed to an air gun because the metal chips can easily get into an eye risking possible permanent injury.
Do not attempt to rush the process. You can use minor distractions to calm your excitement.
For example, the beer we mentioned earlier? A bottle of it could help.
The point is to take minor breaks to keep excitement or boredom under control during the process. It prevents rushing the task which may risk permanent damage to the barrel of the firearm.
Precision is important as a minor kink in the thread pitch can damage the entire firearm. This is when one round fire through a muzzle brake or suppressor that's not in proper alignment.
Upon finishing up, remove the cutting tool with as much upward pressure as possible. This works by pulling upwards on the tool with the opposite hand spinning the tool off the threaded barrel.
Finishing Up
Remove all the excess metal chips and cutting oil with a paintbrush, then remove the firearm from the vice.
Before assembling the firearm, clean it well including the bore, barrel, gas system, and internal moving components. If the firearm is not clean, then shooting the weapon will be at risk of damage.
This is because the metal chips will scratch and damage important moving components operating within the weapon. These metal chips can also ruin the rifling of the barrel reducing accuracy, trajectory, and even velocity.
Once the firearm is clean, thread the muzzle brake or suppressor onto the barrel. Lock it down with a crush washer or the notch located on most AK47 gas blocks.
Run a bore snake or barrel cleaning tool once more to ensure alignment. Then take the firearm to the range and enjoy!
Check out these threading barrels for various calibers in this video from FirearmTutorials.com:
DIY threading barrels for muzzle brakes and suppressors is a tedious task. Yet, it's vital in the care and maintenance of your weapons.
When it comes to owning guns, care, maintenance, and upgrades are tasks you need to learn and do by yourself!
Have you tried DIY threading barrels before? How did it go? We're interested to find out about how it went in your comments below!
Up Next:
- Is a Shotgun the best Survival Tool?
- Shooting With Both Eyes Open | Shooting Tips And Tricks
- Why Dry Firing Your Firearm Is A Great Idea And How It’s Done
Follow us on Facebook, Instagram, Twitte
**Disclaimer: The contents of this article are for informational purposes only. Please read our full disclaimer here.*
Editor’s Note: This post was originally published on December 21, 2018, and has been updated for quality and relevancy.

Staccato P Review | Staccato P 1000 Round – The Most Accurate Duty Pistol

Sawed Off Shotgun | Everything You Need To Know

CZ 75 SP01 Tactical Gun Review | Gun Carrier

PODCAST: Gun Law Changes All Across America Right Now

PODCAST: How to Win Olympic Gold

PODCAST: 50 Important Ideas For Self-Defense, Self-Reliance, and Personal Safety


Michael
January 20, 2018 at 10:41 AM
Learn when what “than ” & “then” mean and when to use them. It would make for easier reading.