What Matters Most on Red Dot Sight Training
To master Red Dot Sight Training at home, focus on consistent 10–15 minute dry-fire sessions 3–5 times per week. Success relies on a repeatable presentation angle and target-focused eyes. Not “hunting” for the dot. Prioritize safety by removing all live ammo and following a strict unload-and-verify protocol before every drill.
What makes Red Dot Sight Training different from iron sights?
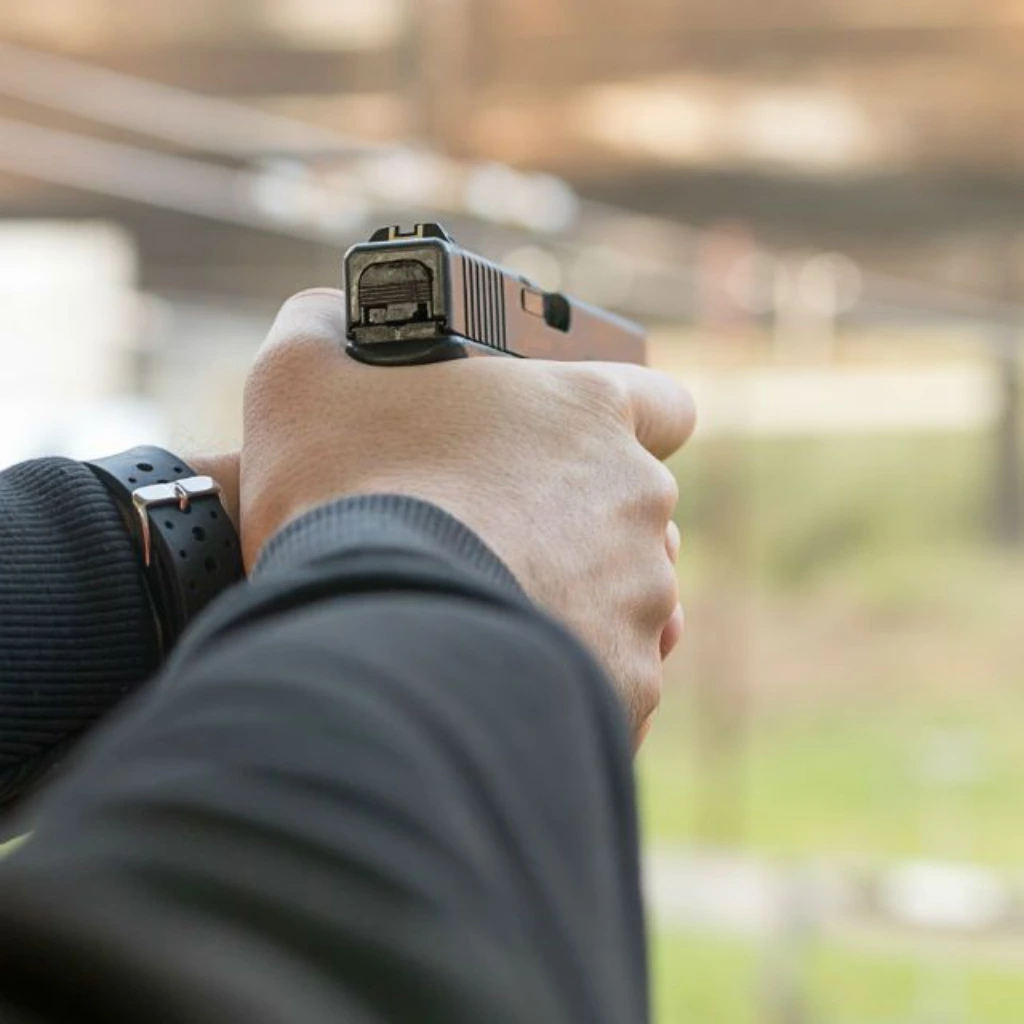
With iron sights, many shooters focus hard on the front sight. With a pistol optic, Red Dot Sight Training rewards staying visually locked on the target while the dot becomes your aiming reference in the same focal plane.
That sounds easier than it feels. New red-dot shooters often “hunt” for the dot, especially during the draw or the press-out. The fix is rarely “try harder.” It’s usually presentation consistency: the same grip, the same wrist angle, and the same path to the target every time.
Dot success formula
- Target-focused eyes + repeatable grip + consistent presentation angle
- If you lose the dot, reset. Don’t fish for it.
How do you set up a safe dry-fire space at home?
Before any Red Dot Sight Training drill, build a routine that makes mistakes less likely. Dry fire can be safe, but only if you treat it like a real training session, not casual handling.
Safety checklist (do this every time):
- Unload the firearm and lock the action open (if applicable).
- Visually and physically verify the chamber is empty.
- Remove all live ammo from the room (pockets included).
- Choose a safe direction and a reliable backstop (something that would safely stop a projectile if the unthinkable happened).
- Post your target at eye level.
- Turn off distractions. No multitasking.
The “Stop Rule”: If you get interrupted (doorbell, phone call, someone enters the room), stop immediately. When you come back, restart the entire unload-and-verify process. Safe Red Dot Sight Training begins before the first rep. Your process is the safety system.
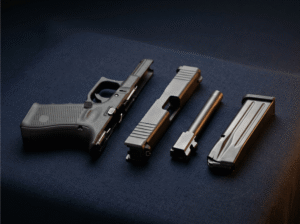
What gear helps with Red Dot Sight Training at home without turning it into a gadget hobby?
You don’t need a pile of accessories to get good reps at home. A safe dry-fire setup, a simple target, and a way to confirm your fundamentals are usually enough. The goal is consistency and feedback, not collecting gear that distracts from practice.
Bare minimum:
- Your optic-equipped pistol
- A safe backstop and a small aiming point
- A timer/par-time app (or even a kitchen timer for structure)
Helpful (optional) upgrades:
- Scaled targets (small dots, reduced-size silhouettes) for realistic “distance” indoors
- Snap caps/dummy rounds (to protect some firing pins and for safe handling practice)
- Feedback tools: apps/sensors can highlight movement during the trigger press
- Recoil-reset systems: helpful for follow-up-shot rhythm, but not required
The best “gear” for Red Dot Sight Training is a safe setup and a simple plan you’ll actually follow.

- HIGH QUALTITY MATERIAL - Made of high-quality sturdy zippers, nylon material and polyester fiber,1200D Oxford fabric has...
- CONCEALED CARRY PISTOL POUCH - Works well subcompact-sized guns like the Ruger LCP and 380 or other similar sizes; The...
- WATER BOTTLE HOLDER - The bumbags of the pistol waist bag is equipped with a hidden water bottle holder (suitable for...
Last update on 2026-07-21 / Affiliate links / Images from Amazon Product Advertising API
Which home drill fixes “dot hunting” the fastest?
This is the core of Red Dot Sight Training at home: make the dot appear automatically. Dot hunting is usually a presentation problem, not a vision problem. The fastest fix is a repeatable draw-to-index that brings the gun to your eye line the same way every time. Start slow, build perfect reps, and you’ll see the dot appear automatically instead of “searching” for it.
Drill 1: “One-inch dot” presentation
Setup: Place a 1-inch dot (or small square) at eye level in your safe direction. Stand at a normal indoor distance.
How to do it:
- Look at the target. Keep your eyes there.
- Build your grip the same way every time.
- Present the pistol smoothly until the dot appears on the target.
- If the dot isn’t there: freeze, then reset. Don’t “search” by waving the gun.
Reps: 20–40 quality reps.
Progression: Only add speed once the dot shows up reliably. Use a gentle par time and lower it slowly over days, not minutes. If you want faster dot pickup, slow Red Dot Sight Training reps done perfectly beat fast reps done sloppy.
How do you build a steadier dot for better hits?
A wobbling dot is normal, especially at first, and trying to “freeze” it usually makes things worse. What you’re really building is a stable grip and a calm sight picture that you can accept without over-correcting. Once your grip and stance stop changing rep to rep, the dot settles down on its own.
Drill 2: “Breathe-and-hold” stability
Setup: Same small target.
How to do it:
- Present to the target and hold for 3–5 seconds.
- Breathe normally. Don’t strain.
- Notice the dot’s movement and keep it centered as best you can.
Reps: 10–20 holds.
Progression options:
- Smaller target
- Slightly longer holds (but stop before your arms shake)
Red Dot Sight Training teaches you to accept normal wobble and still press a clean shot.
How do you practice a clean trigger press with a red dot?
A red dot is honest: it shows every little push, snatch, or flinch in real time. That’s good news, because it gives immediate feedback on whether your trigger press is straight and smooth. The goal is to press without “steering” the dot off target, even as it naturally wobbles.
Drill 3: “No-dip press.”
Setup: Present the dot to your target. Get stable.
How to do it:
- Press the trigger straight back until the click.
- Watch what the dot does.
- Your goal: minimal movement at the exact moment of the click.
Coaching cues:
- Smooth press, no surprise yank
- Grip stays firm and consistent
- Don’t rush the last 10% of the press
Red Dot Sight Training is trigger training. The dot shows you what your hands are really doing.
What’s the best drill for faster target transitions with a dot?
Fast transitions aren’t about whipping the gun around; they’re about moving your eyes first and letting the dot follow. When your eyes snap to the next target, the pistol arrives faster and stops cleaner. Done right, you’ll spend less time over-swinging and more time confirming a usable dot and pressing. Transitions are where skill shows up. The key is: eyes lead, gun follows.
Drill 4: “Two targets, eyes lead.”
Setup: Put two small targets a few feet apart on the wall (same safe direction).
How to do it:
- Present to Target A.
- Snap your eyes to Target B first.
- Drive the dot to where your eyes already are.
- Press (dry) with the same clean trigger you practiced.
Reps: 10–20 left-to-right, then 10–20 right-to-left.
Common mistake: moving the gun first and letting your eyes chase it.
Red Dot Sight Training transitions get faster when your eyes move first.

- PROTECT YOUR HEARING - Walker's Razor Ear Muffs have an ultra low-profile design featuring extra slim ear cups, for a...
- SOUND AMPLIFICATION - Walker’s Razor Ear Muffs amplify safe sounds using two hi-gain microphones to provide clear...
- RUGGED DESIGN - These muffs feature a rugged design with a rubberized coating, helping to prevent damage to the interior...
Last update on 2026-07-21 / Affiliate links / Images from Amazon Product Advertising API
How do you practice recoil management at home if it’s dry fire?
You can’t replicate recoil in dry fire, but you can build the habits that control it. Grip pressure, wrist lock, and returning the gun to the same “index” are the real foundation of recoil management. Dry fire is where you make those mechanics automatic, so live fire becomes refinement, not chaos.
What you can train at home:
- Repeatable grip pressure
- Returning the dot to the same spot after the click
- Follow-through (don’t relax the instant the trigger breaks)
If you use recoil-reset tools, they can add realism, but your baseline skill still comes from consistent fundamentals. Use the home Red Dot Sight Training for mechanics. Use live fire to validate.
How should you structure a 15-minute Red Dot Sight Training session?
Short sessions work best when they’re planned, not random. Pick one skill to improve, set a simple rep goal, and keep the pace controlled so every rep has feedback. A good 15 minutes should feel focused and repeatable, not like you tried to cram in everything at once.
15-minute plan (3–5 days/week):
- 2 minutes: Safety check + 10 slow presentations
- 5 minutes: Drill 1 (presentation to first dot)
- 4 minutes: Drill 3 (no-dip press)
- 3 minutes: Drill 4 (two-target transitions)
- 1 minute: “Confidence reps” (easy pace, perfect form)
Progression rule: Don’t chase speed until you can get 8 out of 10 clean reps. That’s how Red Dot Sight Training actually sticks.
What mistakes slow down new red dot shooters the most?
Most slowdowns come from trying to “find” the dot instead of building a consistent presentation that brings the dot into view. The next big issue is chasing a perfectly still dot, which wastes time and adds tension. Clean reps, a steady grip, and accepting a small wobble will speed you up faster than any shortcut.
Top mistakes:
- Fishing for the dot instead of fixing the presentation angle
- Changing grip pressure from rep to rep
- Overtraining until your shoulders shake and reps degrade
- Skipping confirmation at the range forever (dry fire isn’t proof of zero)
Quick fixes:
- Reset when the dot is missing
- Keep sessions short
- Confirm with live fire periodically
Better Red Dot Sight Training comes from cleaner reps, not more reps.

- Fully Customizable & Universal Fit: Crafted from reliable 500D nylon, this MOLLE gun holster features fully adjustable...
- Tactical Cross-Draw Design & Quick Access: Engineered for rapid response, the versatile cross-draw design accommodates...
- Secure Quick-Release & Heavy-Duty Construction: Built to last with high-strength 500D nylon and 100% polyester...
Last update on 2026-07-21 / Affiliate links / Images from Amazon Product Advertising API
What should you do next for Red Dot Sight Training?
If you want noticeable improvement fast, keep Red Dot Sight Training simple: present until the dot appears naturally, press the trigger without dot dip, then build transitions with your eyes leading. Train in short sessions, log your clean-rep percentage, and use range trips to confirm zero and recoil management.
Want a printable Red Dot Sight Training drill card?
If you’d like a one-page checklist you can tape near your safe, sign up for our newsletter, and we’ll send a printable home drill card, a 4-week plan, and our beginner-friendly gear picks. Some links may be affiliate links, which help support the site at no extra cost to you.
Check out this video from PewView: Find your red dot FASTER with these 3 simple steps.
FAQ
-
Is Red Dot Sight Training at home actually effective?
Yes, especially for presentation, dot acquisition, and trigger control. Dry fire builds the movement patterns that make the dot appear without hunting. You still need live fire for recoil and confirmation, but home practice can multiply your quality reps between range visits.
-
How often should I do Red Dot Sight Training drills?
Aim for 10–15 minutes, 3–5 days per week. Short sessions help you keep reps clean and focused. If you notice frustration, rushing, or sloppy dot acquisition, stop early. Consistency beats marathon sessions.
-
What’s the safest way to dry fire at home?
Unload and verify the firearm, remove all live ammo from the room, choose a safe direction/backstop, and avoid distractions. If you get interrupted, restart the unload-and-verify process. When done, put the target away and secure the firearm before reloading elsewhere. (USCCA)
-
Why do I “lose the dot” during the draw or presentation?
Most of the time, it’s a grip and wrist-angle consistency issue, not your eyesight. Your presentation is bringing the optic window to the wrong place. Slow down, lock your eyes on the target, and repeat a consistent “hands meet” position until the dot appears naturally.
-
Should I focus on the dot or the target with a pistol red dot?
In general, keep your visual focus on the target and let the dot float where it needs to be. The dot is your aiming reference, not the thing you stare at. Many shooters improve faster when they stop “searching” and build a repeatable presentation.
-
Do I need a training app like MantisX for Red Dot Sight Training?
No, but it can help. Data tools can show how much the gun moves during the trigger press and help you track improvement. If you like metrics and structured drills, a sensor-and-app system can add clarity and motivation without replacing fundamentals. (Mantis)
-
Can CoolFire replace live fire for red dot practice?
It can’t fully replace live fire, but it can add a more realistic cycle, reset, and recoil-like feedback than standard dry fire. That helps with follow-up-shot rhythm and returning the dot to the target. You’ll still want range time to verify performance and zero. (CoolFire Trainer)
-
What’s the best at-home drill to get faster with the dot?
A simple presentation drill to a small target is usually the fastest win. Keep your eyes on the target, present smoothly, and demand that the dot appears without “fishing.” Add speed only after you can get consistent first-dot appearances at a slow pace.
-
How do I know if my dot is zeroed if I mostly practice at home?
You can’t confirm zero with dry fire alone. Use home practice to improve mechanics, then confirm zero and refine at the range with your carry or match ammo. If your groups shift or you change mounting hardware, re-check zero again.
-
Why is Red Dot Sight Training so popular right now?
Red dots are spreading across training and professional pipelines, and shooters want efficient practice that doesn’t require constant range trips. With lane fees often around $20–$45 per hour, home drills offer a low-cost way to build skill and then use range time for confirmation and recoil work. (The OutPost Armory)
Lock in your vote and tell us: Why is this the right call?👇