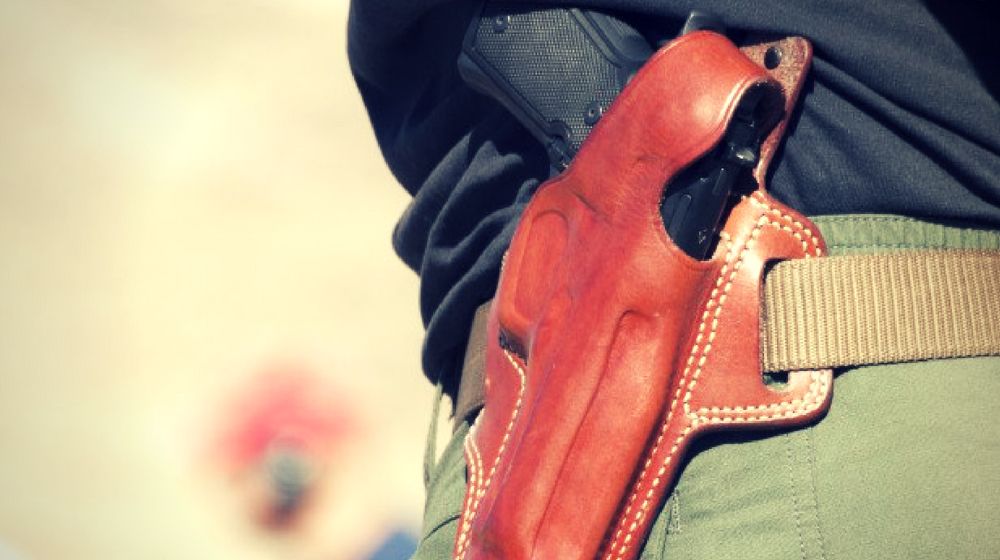

If you have the luxury of going to a range where you can draw from your holster and fire, consider yourself blessed. Most ranges don’t allow you to draw from a holster unless you’re taking a lesson with a range staffer. There is even more intense safety supervision for holster draw techniques. Speak to your range safety staff about getting an exemption to draw from an outside-the-waistband holster if they put you on a far-end range lane and supervise your holster draw practice.
Can’t Draw From Your Holster at the Range?
1. Dry Fire Drill
Learn proper #trigger #pull & dry #fire from @NSSF's, Chis Cheng. http://t.co/vES8A8jrLq pic.twitter.com/8AZfts5LFZ
— @wideopenspaces (@wideopenspaces) February 16, 2015
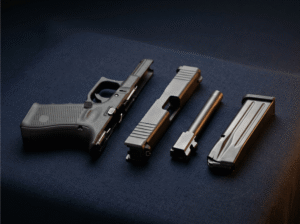
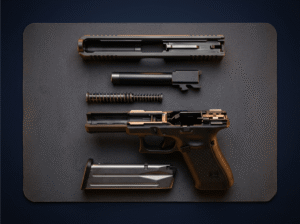
This drill improves the way and speed by which you pull the slide back on your pistol. Develop the habit of a complete slide pull, and not just using your slide release button all the time. A full slide pull from front to back helps to get the round fully into the chamber. It also reduces the chances of stovepipes, failures to feed, or other ammo-loading problems. Rack the slide and dry fire once as one set, then twice as another set, on up to five repetitions of five sets. Dry fire with both hands and focus on your grip and sight portrait each time. Then dry fire the same one-to-five reps/sets drill with just your gun hand, and then with just your support hand. With that warmup done, you can get to the real thing, with some good muscle memory in place.
2. Short Magazine Drill
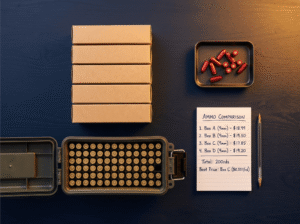
Fill your mags with two, three, four, or five bullets and mix them up. Insert one and go through a course of fire. The purpose of this drill is to break the habit of jerking the trigger when the pistol striker falls empty. (You can do this same drill with your revolver by loading two, three, or four rounds and spinning the cylinder, so you don’t know if you will fire a live round or not.) With either gun, always know how many rounds you have fired and how many rounds you have left. The focus of this drill is to stop being surprised when your slide pulls back as an empty gun or your revolver cylinder is empty.
3. Empty Magazine Drill
Different guns work differently when you drop the magazine out. Some pistols will fire if the mag is not in place, due to a magazine safety or other mechanical blocks. With a round in the chamber, you must know how your pistol will operate.
4. Combat Load Drill
Like the previous drill, it’s important to know how to “combat load” one round into your pistol when the slide is locked all the way back to get it into the chamber. Practice this process by dropping the slide with both the slide release button and by pulling the slide back and dropping it forward by hand. The key is teaching yourself how to go fast and smooth at putting in one round and getting back into the real gunfight, if your magazine(s) should drop. One bullet could save your life.
5. Support-Side One-Hand Fire
Like the Dry Fire Drill, get used to shooting one-handed, starting with your support hand first. If you’re righthanded, this would be your left hand, and vice-versa if you’re lefthanded. (I don’t use the phrases “strong hand” or “weak hand,” since I don’t like the idea that one of my hands is perceived as “weak.”) You can make this drill more challenging by combining it with the Empty Magazine Drill. This way, you’ll be able to master pulling the trigger smoothly even if there is no round in the chamber.
6. Gun-Hand One-Hand Fire
It may seem easy to shoot one-handed with your usual gun hand grip. However, this drill teaches you to not get into bad habits like jerking the trigger, or not knowing what to do with your support hand. (Place it on your chest and push in to create leverage as you fire with the other hand.)
7. Trigger Reset Drill
https://www.instagram.com/p/BA3cXixyYoa/?hl=en&tagged=triggerresetdrills
If you have a striker-fired pistol, you already know how important it is to get comfortable with that “little forward click.” This resets your trigger so you can fire again quickly. Accomplished shooters know just how far they have to release their trigger fingers forward. This allows them to get to that reset point and be able to fire again and again. Practicing this critical transition so it becomes part of your muscle memory allows you to create a smooth trigger pull each time. That way, you can fully concentrate on your sight portrait.
8. Braced-Arms Fire
Another description for this drill might be called “point shooting,” where you don’t bring your pistol or revolver up to eye level – because the bad guy may be too close and right on top of you. From the range bench, point your weapon down range and practice drawing a handgun with both arms back and burying each elbow into either side of your ribcage. The barrel of your gun should be about six inches above your belly button and be pointing at the belly button of your (human) paper target. You want to create a stable shooting platform first, then adjust your barrel upwards to hit the target in center mass. This drill does not require you to have perfect sight portrait since you’re not firing from eye level. The goal is to get your barrel on the target quickly first, then adjust the barrel height for accuracy second.
This video by Vickers Tactical will show you how to combat load:
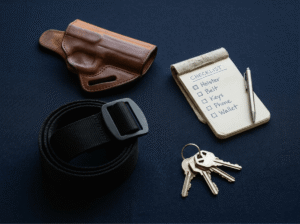
Since safely and quickly drawing from a holster is such a critical part of concealed carry, you will have to practice this process at home, using standard safe dry fire rules: cleared weapon, ammo in the other room, empty magazine. But shooting at the range is always more fun than dry firing at home. And you go to the range to have fun, followed by improving your accuracy, and improving your familiarity and handling skills with your pistol or revolver. To achieve those three goals, here are the first 8 of 16 shooting drills. If you can’t always draw from your holster, you can still enjoy your range experience.
What do you think of Can’t Draw From Your Holster at the Range – Part 1? Let us know in the comment section below.
I’ll discuss eight more useful range drills in Part 2.
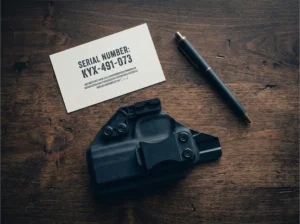
Check Out My Preferred Holster here!
Up Next: Bringing Your Gun to the Gym | Concealed Carry 101
Contact Steve Albrecht at DrSteve@DrSteveAlbrecht.com or on Twitter @DrSteveAlbrecht
Editor’s Note – This post was originally published in April 2017 and has been updated for quality and relevancy.