
Ever wanted to know how to make your very own custom holster? Take out those holster-less guns and start measuring because we’re gonna teach you how!
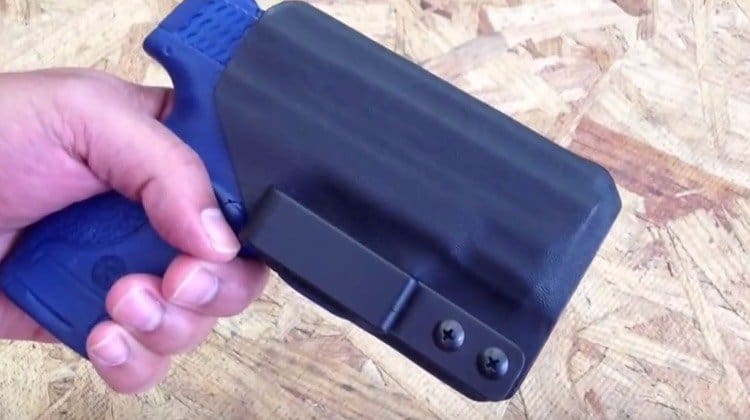
Custom Holster Making from Kydex Material
The market has a wide variety of holsters available for all types of handguns. Thus, learning how to handcraft your own custom holster is not a necessary skill for every gun owner. However, just in case you’re wondering how it’s done, we’ll show you how to do it. The video below will walk you through the process along with step by step instructions to tailor your own holster from Kydex material. Let’s get started.
Step 1: Mark and Cut the Kydex

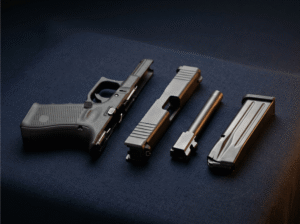
Make the marks on the Kydex based on the length and height of your gun. One side should be twice the height from the base of the handle going up. Cut the piece and go with the grain of the Kydex for the sake of your holster’s durability and a nice solid fit.
Step 2: Trace the Gun

Now that the Kydex is cut to size, trace around the gun, so you know where it needs to go when it comes out of the oven. You can also use an oven big enough for the piece of Kydex to fit inside.
Step 3: Heat the Kydex

Preheat the oven, then put the piece of Kydex in. You have to periodically check the temperature until the Kydex reaches approximately 350 degrees. The video makes use of an infrared thermometer to check the temperature.
Step 4: Foam Press the Kydex

Take the Kydex out of the oven as soon as it reaches the desired temperature. Put it inside the foam press with the markings where they need to go. Stretch the Kydex really tight and make sure to get a good press on the material. Wait for 10 to 12 minutes until it takes a perfect form then remove it from the press.
Step 5: Draw the Holster Profile

Put the Kydex with the gun mold on the drawing table to draw the profile of your holster. This is where your creativity comes in, and you can design your holster to your preference.
Step 6: Sand and Saw

Use a bandsaw to make a cut out the holster profile on the Kydex. Once the profile is cut, finish the edges with a belt sand or manually sand. Take out the Kydex that’s building up inside the holster.
Step 7: Mark and Drill the Holes

Mark out the holster to where the holes are going to be. Drill the holes and ream them out to remove the rough edges. Secure the clips in place. The video shows using a drill press to create the holes for the clips.
Step 8: Polish and Shine

After securing the pins in place, all that’s left to do is polish the holster to remove its rough edges. Buffing wheels are the perfect equipment to do the job. However, if you don’t have buffing wheels, you’re free to use a different method.
Here’s the full video of making your custom Kydex holster by Tees Holsters:
Isn’t Kydex a neat material for making holsters? It’s a simple process of marking, heating, cutting, and polishing with the use of a remarkable material. While holster making is not a must-have skill for gun owners, it’s an upskill for those who want to earn extra or those who just want to take it up as a hobby.
What can you say about making a custom holster from Kydex? Share your thoughts in the comments below!
UP NEXT: Guidelines For Concealed Carry Holster Selection
![]()
Follow us on Facebook, Instagram, Twitte